

這裡有幾點必須提醒大家
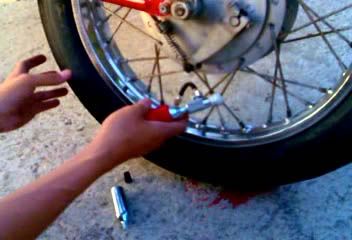
第一、為了方便了解,影片中的輪胎為已拆卸下的輪胎,自己在補是不用拆的
第二、由於為已拆卸輪胎,所以在鑽洞等部份較難作業,實際操作時因有胎壓是很好鑽的
第三、請不要嫌畫質很差,小成本製作,拍攝工具為NOKIA N78
第四、這是重點,此補胎方法只適用於無內胎之輪胎,有內胎請不要嘗試此種方法,那只會越破越大洞而已
那麼,以上事項都讀過後,就接下來我們的課程
以下我們分成五個步驟,請一步一步跟上
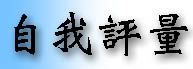
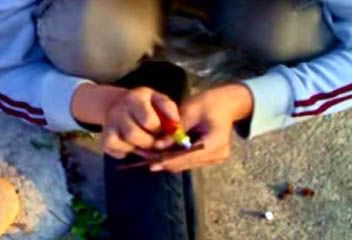
事前步驟: 準備好補胎包
正所謂工欲善其事,必先利其器,要補胎若沒有補胎工具,也是不成的。
為此,我們必須先選購補胎工具包
通常市面上賣的補胎包就可以了
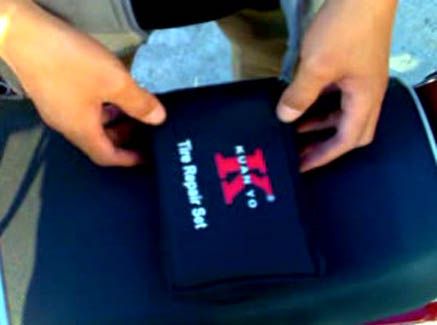
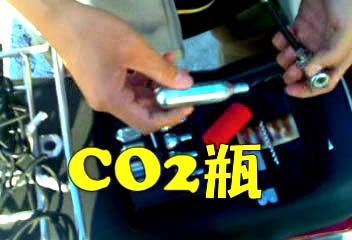
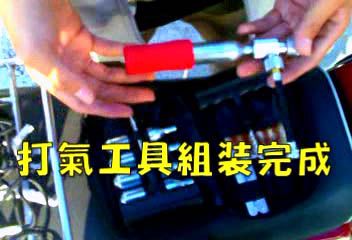
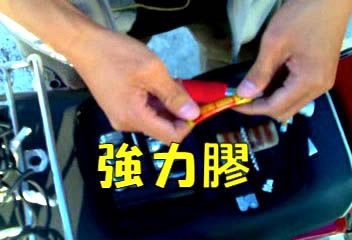
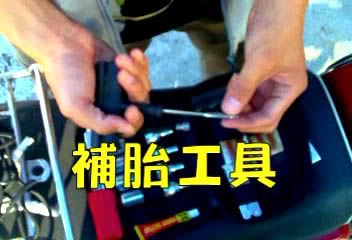
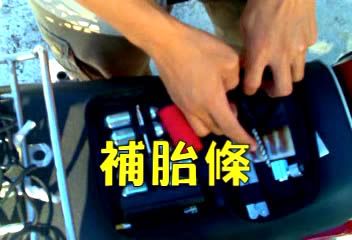
以示範的補胎包為例,內容需包含螺旋補胎工具、補胎條、組合式打氣工具、CO2瓶、多功能鉗、強力膠和開口補胎工具
有了以上工具後,我們就可以來進行我們的補胎工作
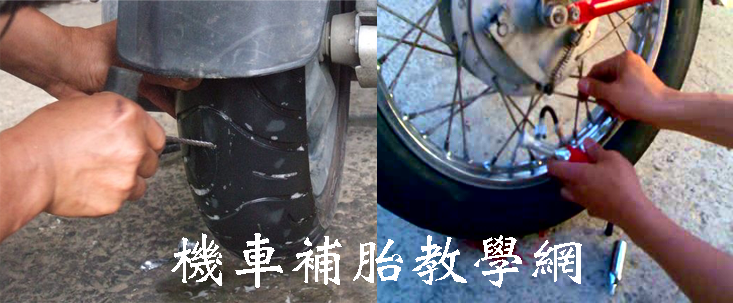
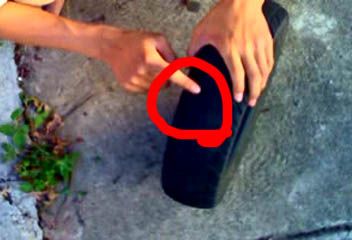
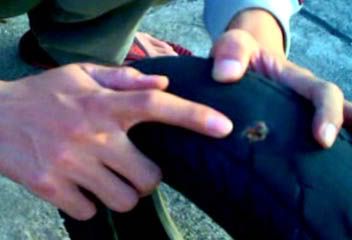
步驟一:確認爆胎點
在我們確認爆胎後,首先第一步,就是找尋爆胎點,然後把異物拔出。
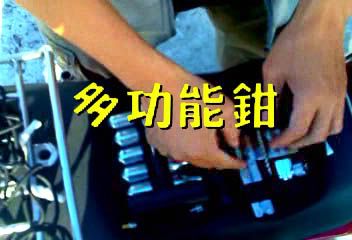
使用多功能鉗就可以輕鬆清除異物。
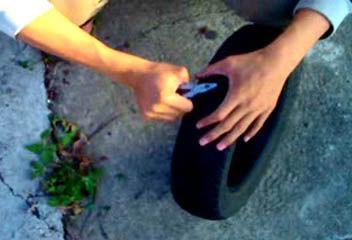
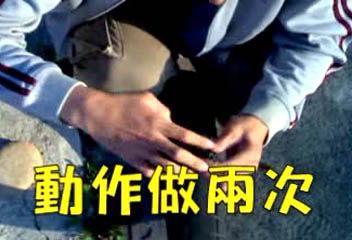
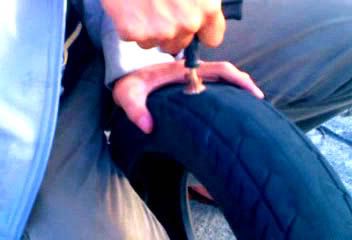
步驟二:使用螺旋補胎工具在破洞處鑽出螺紋。
在拔除異物之後,就可以拿出螺旋補胎工具。螺旋補胎工具在這個階段必須在爆胎點鑽出一螺紋,且此步驟至少需重複兩次,確保紋路的平順。
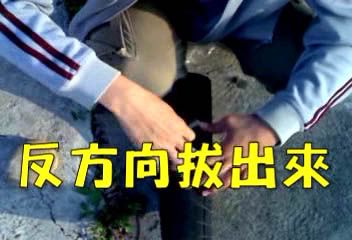
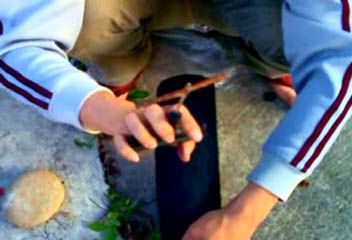
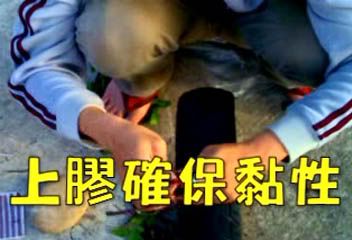
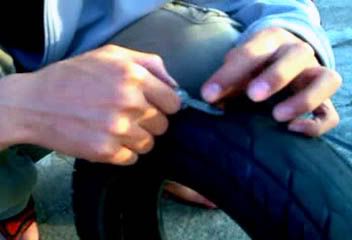
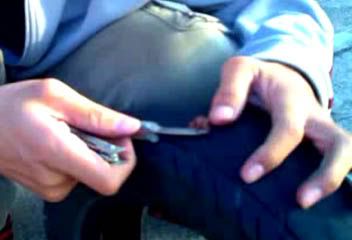
步驟三:使用補胎條,把其塞進螺紋處。
拿出補胎條,使用前請先搓揉,接著把其塞進開口補胎工具,塞好後塗上強力膠,確保補胎條的黏性,之後把補胎工具鑽進方才鑽好的洞,把其拔出,多出來的補胎條請用多功能鉗的刀子切去之。

步驟四:使用CO2瓶把輪胎的氣打滿。
把輪胎的洞補起來後,氣漏掉了怎麼辦呢?
沒關係,這時候拿出我們的CO2瓶,把打氣工具組裝起來後,直接使用CO2瓶打氣,大約兩罐就可以打飽了,但是CO2瓶用完後瓶身會立刻結霜,為了避免低溫灼傷,請使用附贈之海綿,將其套入在CO2瓶上,若拿搭配上手套是更好的。
以上就是我們的補胎課程,最後附上影片,請多加參考學習。
沒有留言:
張貼留言